

Instructor
Mr. Mustafa Kamal
Timing
Morning, Afternoon
Duration
2 months
Fee
PKR 12,000
Contact
+92-331-5875434
Brief introduction
Computerized Accounting uses computers and accounting software to record, store and analyze financial data. Computerized accounting system brings with many advantages that are unavailable in bookkeeping by hand due to many companies using now a days. There are many accounting softwares made by various companies most of them are Peachtree, Quickbooks, Tally & Microsoft Excel which are listed below.
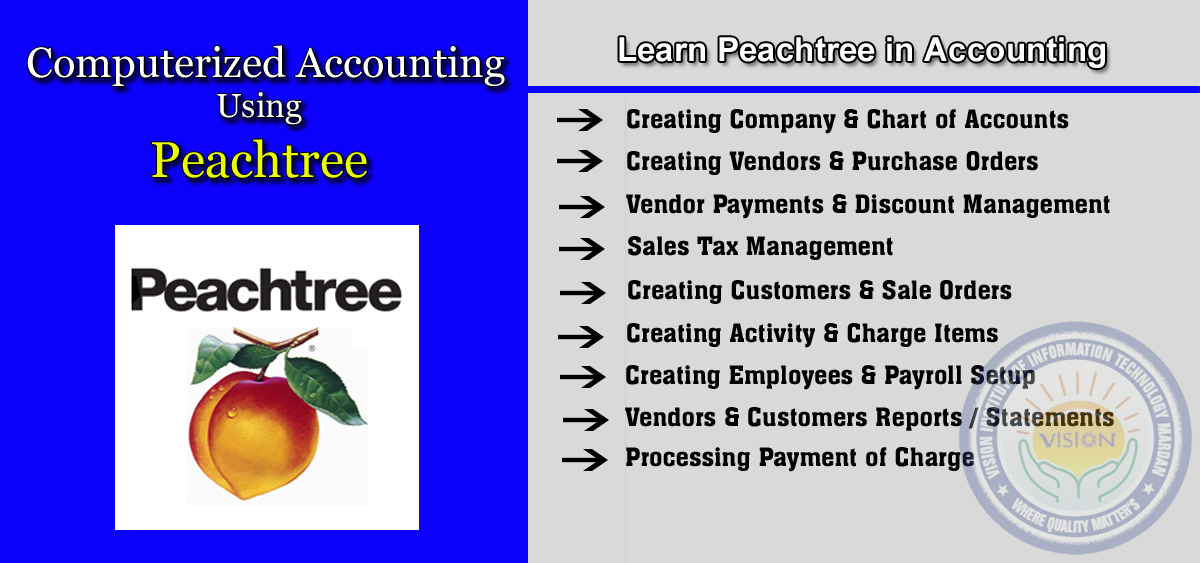
Peachtree
Peachtree is an accounting application for small and medium-sized businesses (SMBs) made by Sage Software. Peachtree enables comptrollers and managers to automate and manage numerous accounting tasks, like:
- Creating financial statements, check invoices.
- Tracking banking transfers and payroll.
- Importing and manipulating spreadsheets.
- Integrating scanned documents like checks, receipts and invoices, eliminating paper from the accounting process.
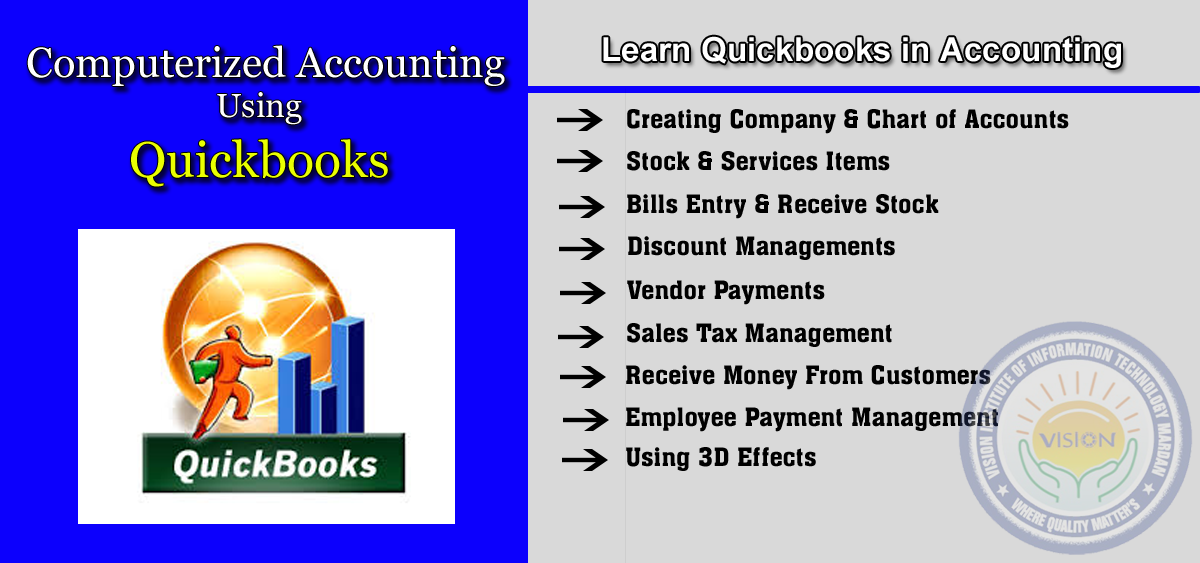
Quickbooks
QuickBooks is an accounting software package developed and marketed by Intuit. It is designed to manage payroll, inventory, sales and other needs of a small business. The software's features include marketing tools, merchant services, product and supplies, training solutions. Each solution is developed according to different industries and their needs.
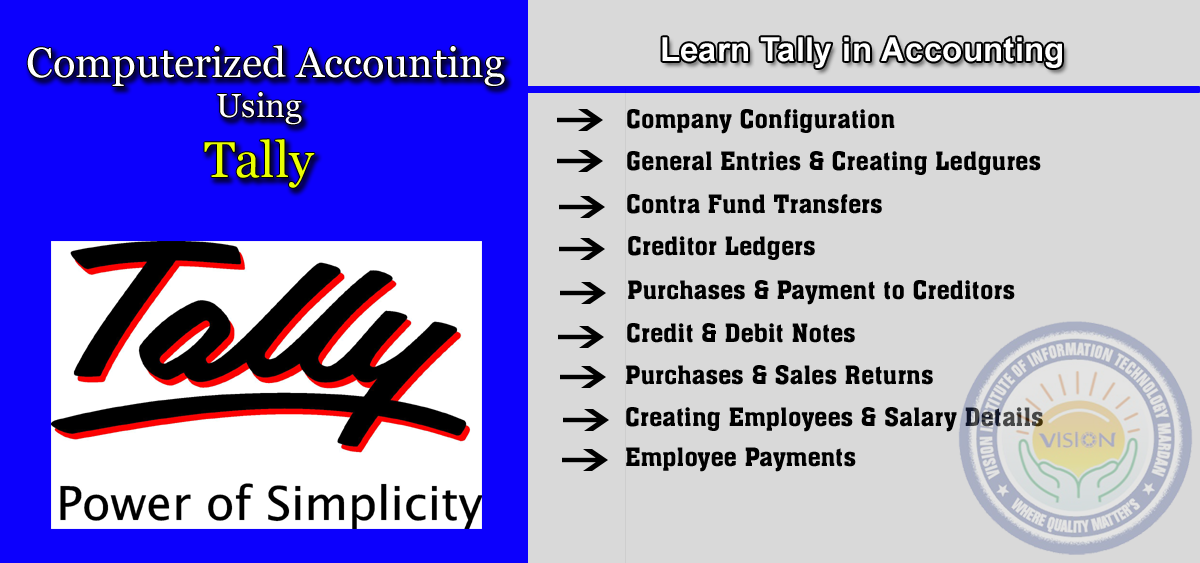
Tally
Tally is popularly known as an accounting software for small and medium businesses. Accounting is a basic function of Tally and most people do not ever use any other functions other than accounting in Tally. Tally has segmented it further in 6 different functions.
- Contra (Only for cash and bank related entries)
- Payment (For payment entries)
- Receipt (For receipt entries)
- Journal (For entries which doesn’t include cash or bank and for closing entries)
- Sales (For sales billing)
- Purchases (For purchase billing)
Week # 1
- Software Installation
- Creating Company
- Chart of Accounts
- General Journal Entries & Their Effect on Reports
- Stock Items
- Services Items
- Creating New Vendors
- Entering Opening Balances
- Purchase Orders
- Bills Entry
- Receive Stocks
Week # 2
- Discounts Managements
- Vendor Payments
- Creating Assembly Items
- Vendor Reports / Statements
- Creating Tax on Vendors
- Setup Sales Tax Items
- Sales Tax Management
Week # 3
- Creating Customers
- Entering Customers Opening Balances
- Sales Orders Creation & Processing
- Receive Money from Customers
- Money Receiving Effect on Reports
- Creating Activity
- Charge Items
- Processing Payment of Charge
- Activity Items
Week # 4
- Payroll Setup
- Creating Employees
- Pay Employees
- Peachtree Completion Test
Week # 1
- Software Installation
- Creating Company
- Chart of Accounts
- General Journal Entries & Their Effect on Reports
- Stock Items
- Services Items
- Creating New Vendors
- Entering Opening Balances
- Purchase Orders
- Bills Entry
- Receive Stocks
Week # 2
- Stocks Returns To Vendors
- Discounts Management
- Vendor Payments
- Creating Assembly Items
- Vendor Reports / Statements
- Creating Tax Vendors
Week # 3
- Setup Sales Tax Items
- Sales Tax Management
- Creating Customers
- Entering Their Opening Balances
- Sales Orders Creation & Processing
- Sales Returns
- Receive Money from Customers
- Money Receiving Effect on Reports
Week # 4
- Payroll Setup
- Creating Employees
- Pay Employees
- Using 3D effects
- QuickBooks Completion Test
Week # 1
- Creating company
- All configurations
- Creating Ledgers
- General Entries
- Contra Deposits
Week # 2
- Contra Fund Transfers
- Assets Purchases General Entries
- Paid Expenses Journal
- Debtors
- Creditors Ledgers
- Stock Items
Week # 3
- Purchases
- Sales
- Payments to Creditors
- Receipts From Customers
- Enabling Debit
- Credit Notes
- Debit Note
- Purchases Returns
- Credit Note
- Sales Returns
Week # 4
- Enabling Payroll
- Payroll Pay heads
- Employee’s Groups
- Creating Employees
- Salary Details
- Pay Your Employees
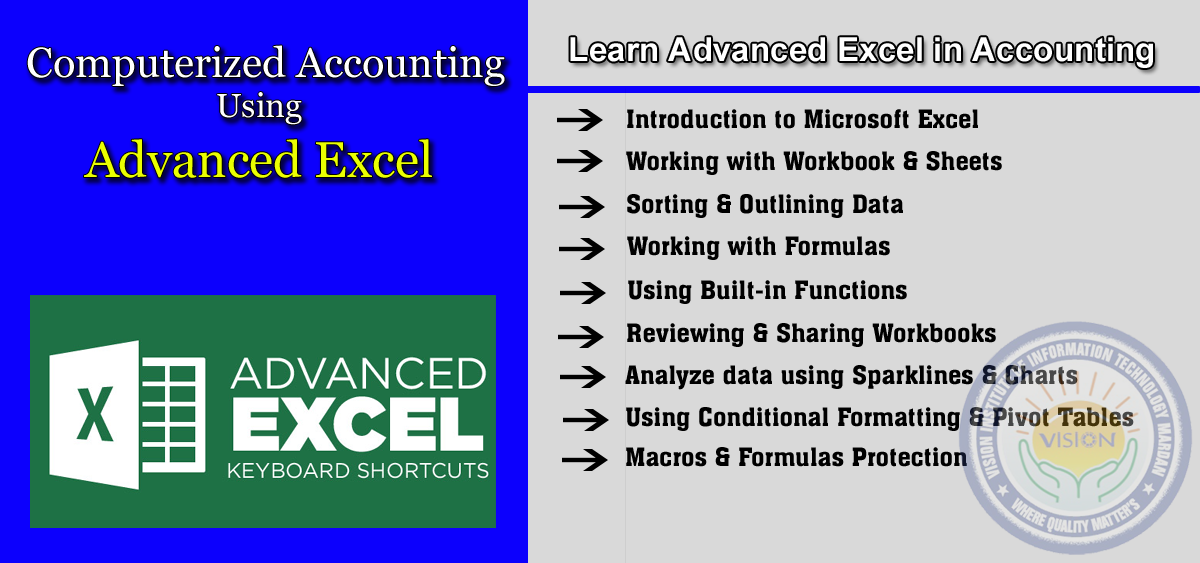
Getting Started with Excel
- Introduction
- The Excel interface
- The Ribbon
- To customize the Ribbon
- To minimize and maximize the Ribbon
- The Quick Access toolbar
- To add commands to the Quick Access toolbar
- Backstage view
- Creating and opening workbooks
- Compatibility mode
- To convert a workbook
- The cell
- To select a cell
- Cell content
- To insert content
- To delete content within cells
- To copy and paste cell content
- To cut and paste cell content
- To access more paste options
- To drag and drop cells
- To use the fill handle to fill cells
- To delete cells
Modifying Columns, Rows, and Formatting Cells
- To modify column width
- To set column width with a specific measurement
- To modify row height
- To set row height with a specific measurement
- To insert rows
- To insert columns
- To delete rows
- To delete columns
- Wrapping text and merging cells
- To wrap text
- To merge cells using the Merge & Center command
- To access more merge options
- To change the font style
- To change the font size
- To use the bold, italic, and underline commands
- To add a border
- To change font color
- To add a fill color
- To change horizontal text alignment
- To change vertical text alignment
- Formatting numbers and dates
Worksheet Basics & Printing
- Introduction to worksheets
- To rename worksheets
- To insert new worksheets
- To delete worksheets
- To copy a worksheet
- To move a worksheet
- To color code worksheet tabs
- Grouping and ungrouping worksheets
- To group worksheets
- To ungroup all worksheets
- Freezing worksheet panes
- To freeze rows
- To freeze columns
- To unfreeze panes
- Printing
- To view the Print pane
- To print active sheets
- To print the entire workbook
- To print a selection or set the print area
- To change page orientation
- To fit a worksheet on one page
- To modify margins while in Print Preview
- To use print titles
- To insert a break
Saving workbooks and Formulas
- To use the Save As command
- To use the Save command
- To use AutoRecover
- To save as an Excel 97-2003 workbook
- To save as a PDF
- Creating simple formulas
- To create a formula using cell references
- To create a formula using the point-and-click method
- To edit a formula
- Creating complex formulas
- The order of operations
- To create a complex formula using the order of operations
- Working with cell references
- Relative references
- Absolute references
- To create and copy a formula using an absolute reference
Working with functions
- What is Function?
- The parts of a function
- Working with arguments
- To create a basic function in Excel
- Using AutoSum to select common functions
- The Function Library
- To insert a function
- Using AutoSum
- Financial Functions
- Logical Functions
- Working with Text Functions
- Date & Time Functions
- Lookup & Reference
- Math & Trig
Sorting & Outlining Data
- Basic sorting
- To sort in alphabetical order
- To sort in numerical order
- To sort by date or time
- Custom sorting
- To sort in the order of your choosing
- To sort by cell color, font color, or cell icon
- Sorting multiple levels
- To add a level
- To change the sorting priority
- To outline data using Subtotal
- Showing and hiding data
- To show or hide a group
- To view groups by level
- Removing groups and subtotalling
- To ungroup data
- To ungroup data and remove subtotalling
- To create and control your own group
Filtering Data & Formatting Tables
- To filter data
- To add another filter
- To clear a filter
- Advanced filtering
- To filter using search
- Using advanced text filters
- Using advanced date filters
- Using advanced number filters
- To format information as a table
- Modifying tables
- To add rows or columns
- To change the table style
- To change table style options
Reviewing and Sharing Workbooks
- Tracking changes
- To turn on Track Changes
- To turn off Track Changes
- Adding and deleting comments
- To add a comment
- To edit a comment
- To delete a comment
- Accepting and rejecting changes
- Adjusting how changes are viewed
- To list changes on a separate worksheet
- To show or hide comments
- Finalizing and protecting your workbook
- To check spelling
- Ignoring spelling "errors"
- To use the Document Inspector
- Protecting your workbook
Using templates, Charts & Sparklines
- To create a new workbook using a template
- Charts
- Types of charts
- Identifying the parts of a chart
- To create a chart
- Chart tools
- To change chart type
- To switch row and column data
- To change chart layout
- To change chart style
- To move the chart to a different worksheet
- Creating sparklines
- Types of sparklines
- Why use sparklines?
- To create sparklines
- Changing the appearance of your sparklines
- To show points on the sparkline
- To change the style
- To change the sparkline type
- Changing the display range
- To change the display range
Using Conditional Formatting & PivotTables
- Conditional formatting
- To create a conditional formatting rule
- Conditional formatting presets
- To use preset conditional formatting
- To remove conditional formatting rules
- Using a PivotTable
- Using a PivotTable to answer questions
- To create a PivotTable
- To add fields to the PivotTable
- Pivoting data
- To change row labels
- To add column labels
- Using report filters
- To add a report filter
- Slicers
- To add a slicer
- Using the slicer
- Using a PivotChart
- To create a PivotChart
Using Macros & Protect Formulas
- Record & Run Macros
- Protect formula cells


